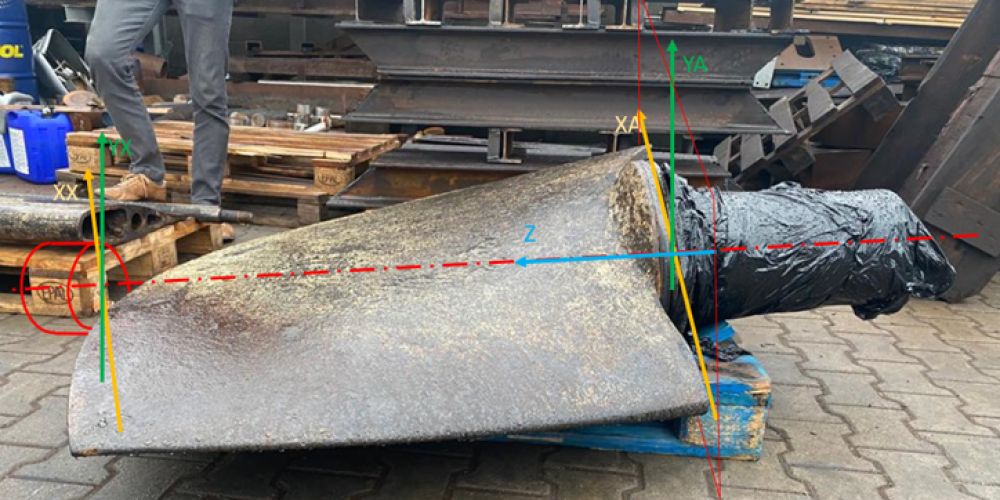
Due to the erosion and corrosion wear of the old blades, the customer decided to replace them. For this purpose, we made a number of 3D laser measurements and scans to redesign the casting as well as the finished machining. The individual stages are presented in the diagram: In the same way, the steering vanes were recreated. More about reverse engineering: MEASUREMENT TECHNIQUE AND REVERSE ENGINEERING | WWTECH – On site machining

This time we present the FAROARM ™ QUANTUM measuring arm and its applications. The arm allows to measure of length and angle as well as deviations in shape and mutual position, both for material and abstract objects – such as, for example, axes of holes, theoretical shape, etc.
Where the scope is very non-standard, where the complex geometry of the object limits the freedom of machining using standard machines, there is a need to check the possibility of installing our equipment and then the possibility of machining. Due to this, we support us by 3D CAD technology, knowledge and software enabling the reproduction of an object and a machine in space, which allows, for example, the selection of a suitable machine, analysis of assembly options, control of possible collisions and even the design of a new machine matching the structure being machined. The latter case is not uncommon in the iron and steel industry and in hydro-power business. However, to be able to perform such simulations, we must start by making or selecting previously made 3D models. We currently have a faithful 3D representation of all our machines. The geometry of the object is a bigger problem – here a suitable 3D model is often used or the classic documentation is provided by the customer. […]
Well-made measurements – quickly, accurately, repetitively – are a necessary condition of successful project. Two things are necessary for this: appropriate measuring equipment; trained and experienced staff. The measuring equipment must meet a number of requirements related to the nature of the work: most often there are remote measurement, resistance to humidity, dustiness and temperature changes. These requirements are met by Laser Tracker ™, which we use in our work. The measurements can be systematized as follows: For the needs of mobile machining: Before machining: initial dimensions and dimensional analysis – determination of allowances, determination of axes and theoretical points, marking out; During machining: dimensional inspection, necessary adjustments, forecasting of work progress; After processing: final dimensions, reporting; Metrological assistance: The service consists in performing measurements for disassembly and assembly works, including mobile machining; Assistance may cover the whole period of activities on the site; The result is ad hoc reports […]